Overview
Blacklisting a customer prevents their vehicles from being serviced at any of your wash sites. Use it to shut down repeat offenders: fraudulent chargebacks, non-payment, abusive behavior, or property damage. When a blacklisted customer’s license plate is scanned or entered at the POS, the wash is blocked and the reason you recorded is shown to your operator on the spot.Add a Customer to the Blacklist
1. Open the Customer Profile
Navigate to Customers from the left sidebar and select the customer you want to blacklist.2. Click “Add to Blacklist”
On the Account tab, click the red Add to Blacklist button.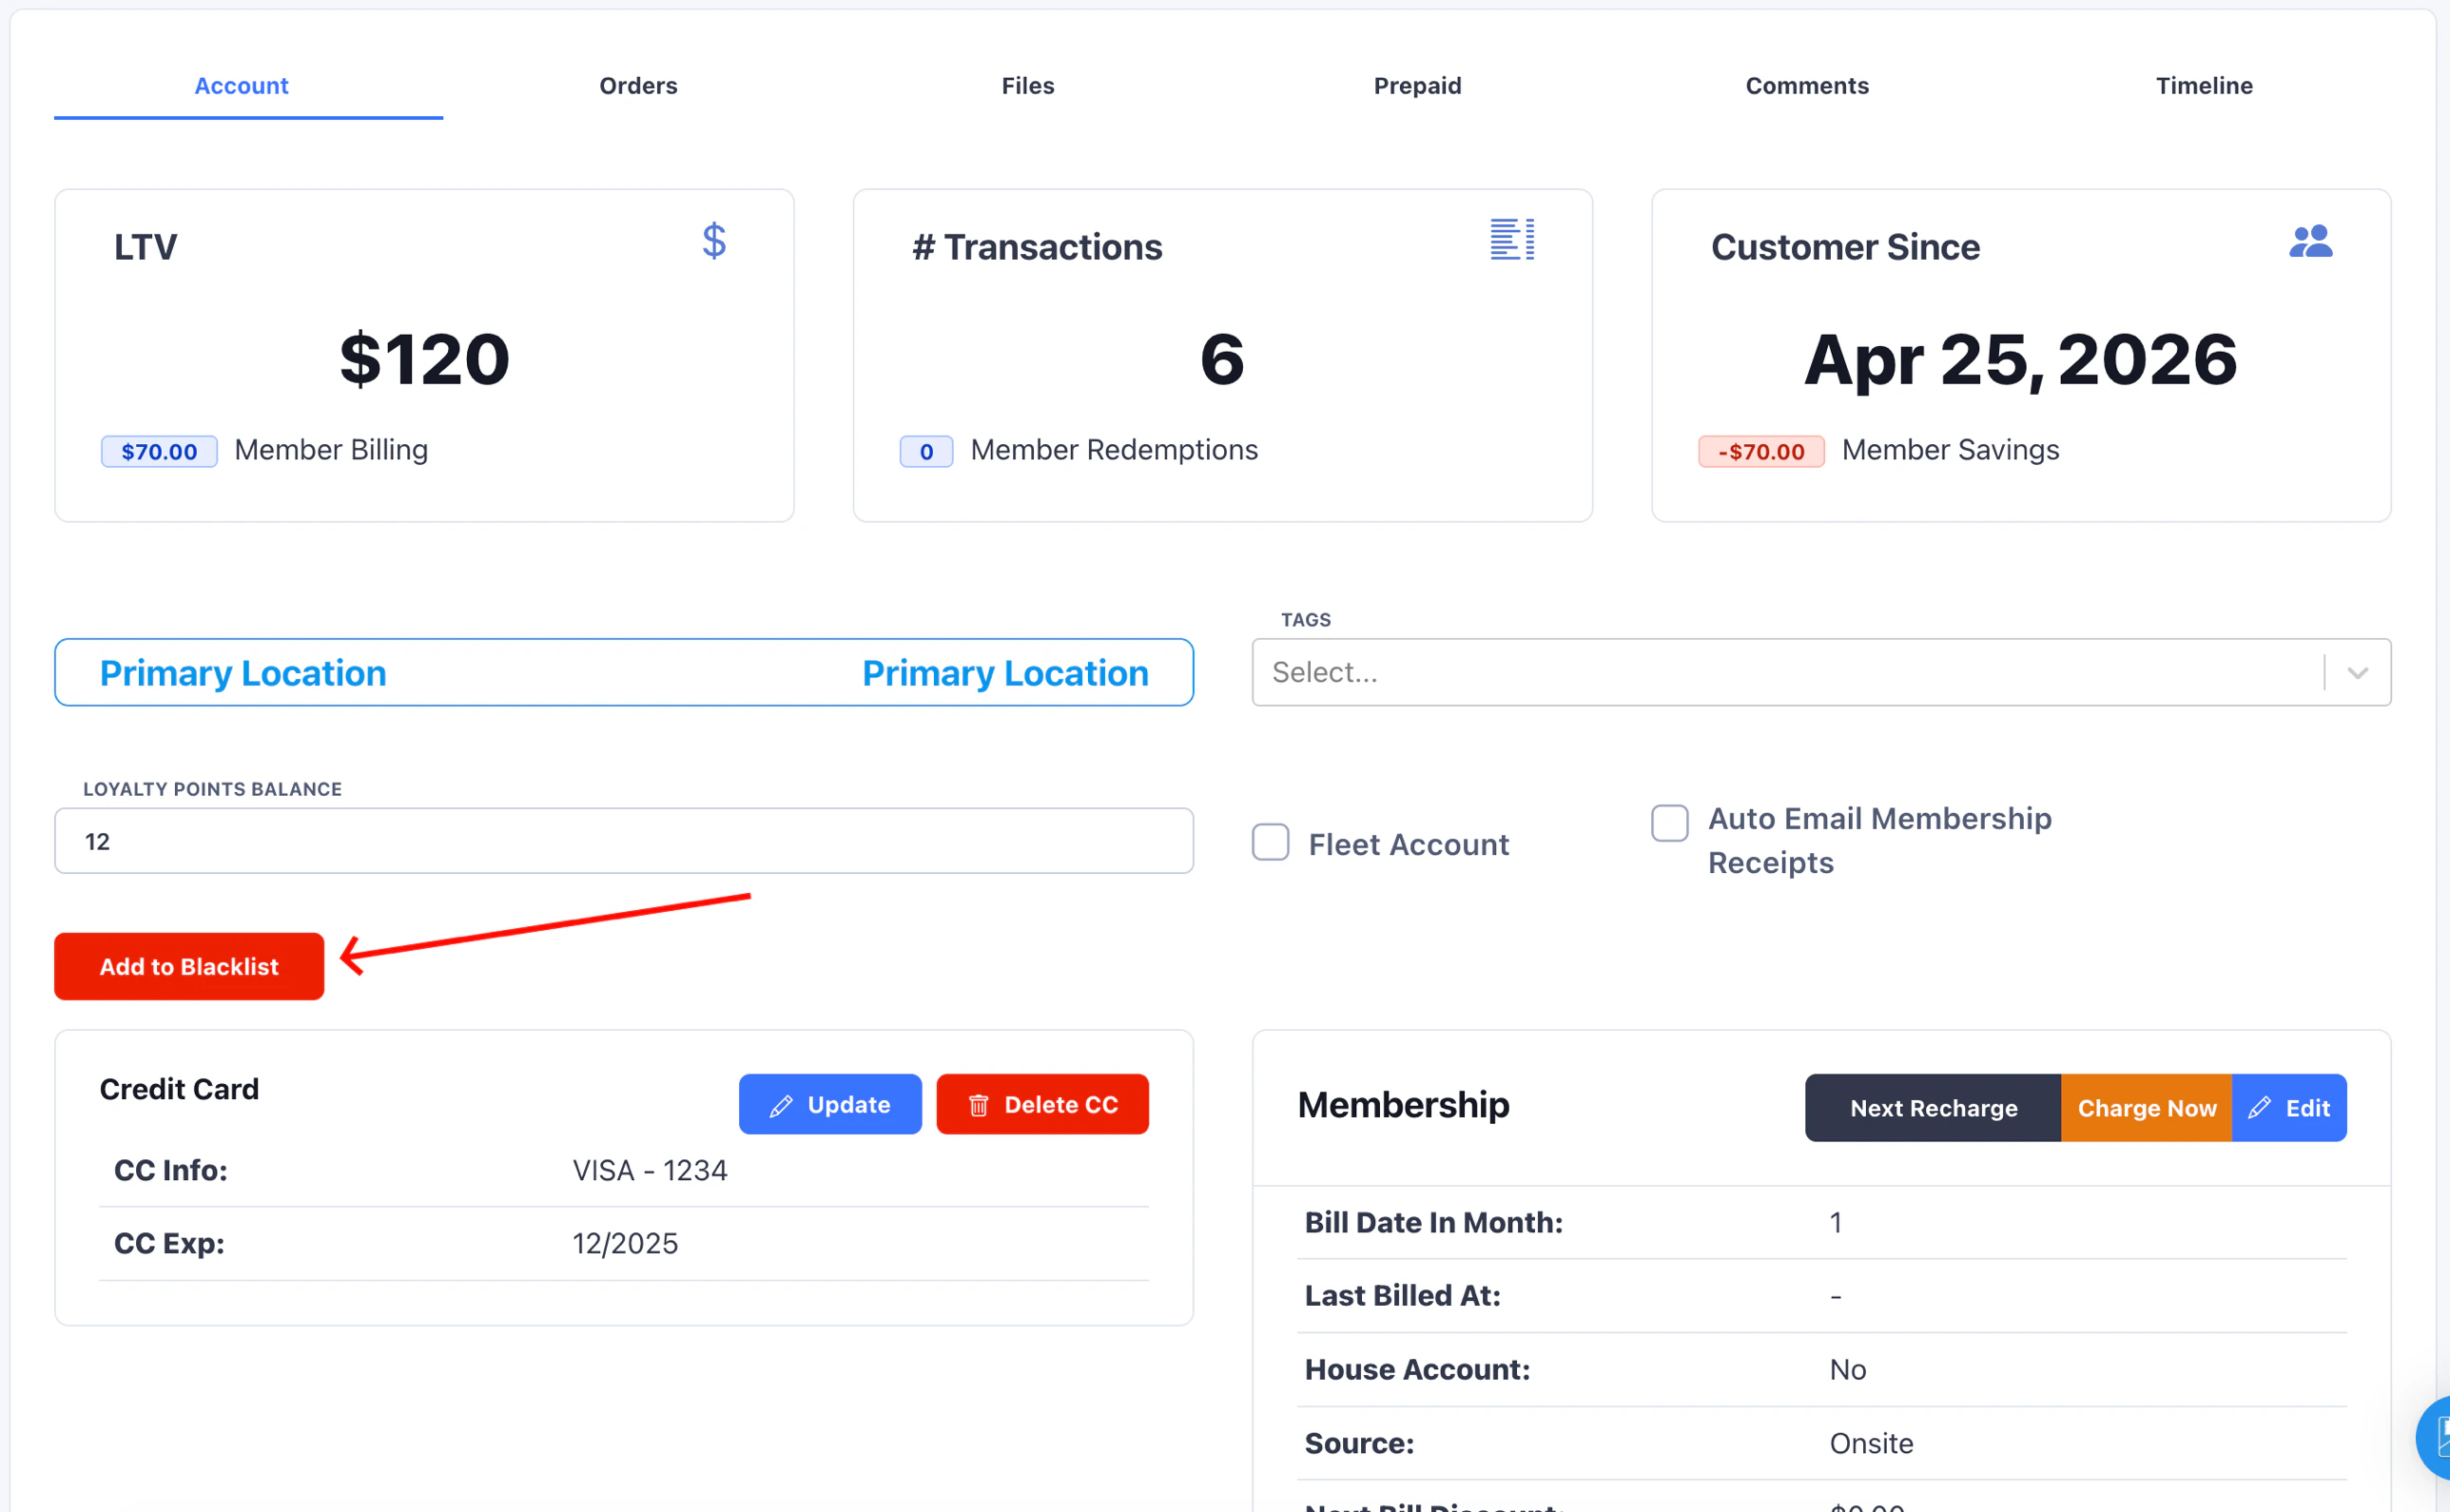
3. Enter a Blacklist Note
Enter the reason for blacklisting in the Blacklist Note field, then click Blacklist Customer.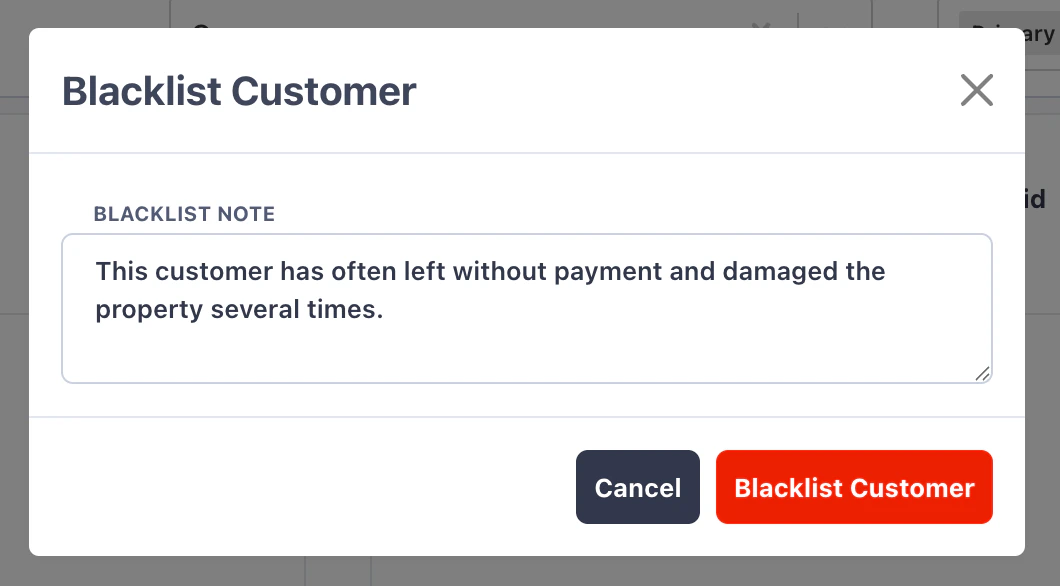
Active Members Cannot Be Blacklisted
A customer who has any vehicle with an active subscription cannot be added to the blacklist. This protects you from billing a blacklisted customer and the chargebacks that follow. To blacklist an active member, first cancel every vehicle’s subscription and set the valid until date to past. See Manual Status Change and Valid Until for the steps.Attempting to blacklist an active member opens a modal explaining why the action is blocked. The blacklist note field does not appear until every subscription is fully wound down.
What Happens at the POS
When a blacklisted customer’s license plate is entered or scanned at the lane, the POS displays a Blacklisted Customer dialog with the note you recorded.
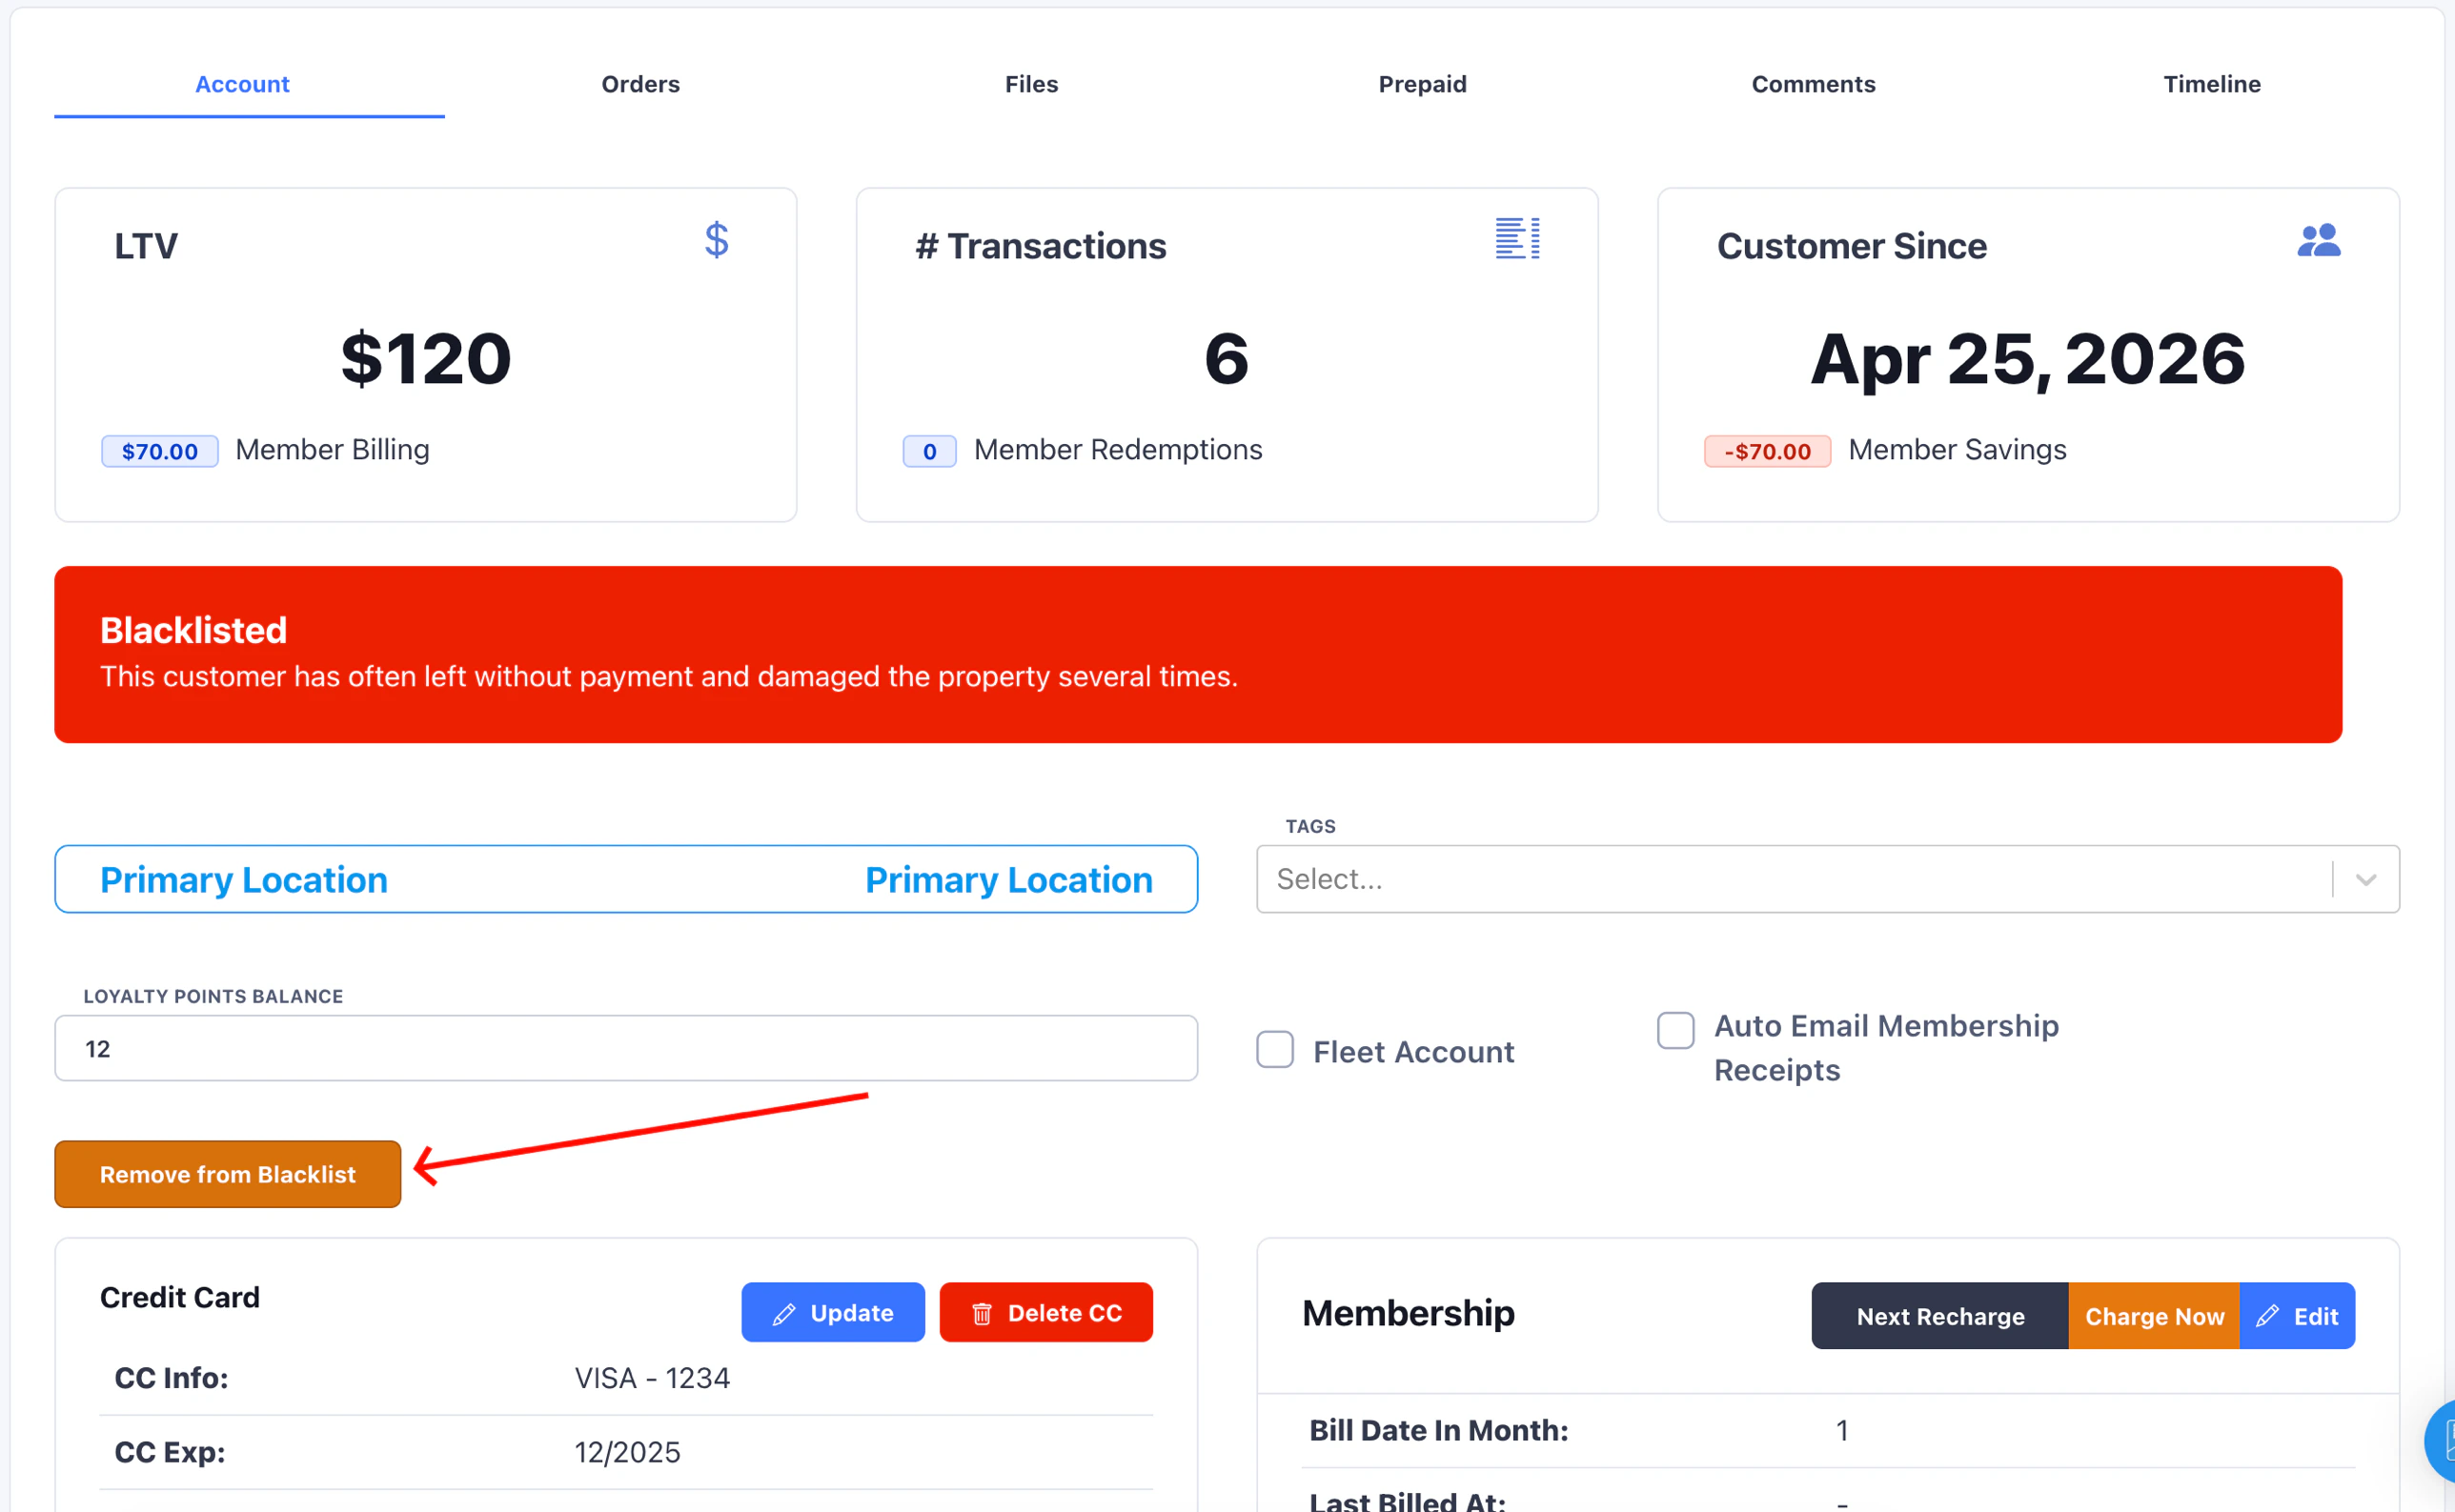
Remove a Customer from the Blacklist
To restore service, navigate back to the customer’s profile. The Add to Blacklist button is replaced by an orange Remove from Blacklist button along with a red Blacklisted banner showing the current note.