Gate not opening after wash purchase
If the screen is on, you should follow these steps:
- Test the gate by opening it manually.
- If the gate moves:
- Check the programming mode.
- Check if there is an error icon on the screen. If there is one, proceed to turn the gate off.
- Remove the ethernet cable, and then plug it back in making sure that it is plugged in correctly. Also check that the cable is connected properly on the other end, on the Switch inside the office.
- Turn the gate back on.
Programming mode

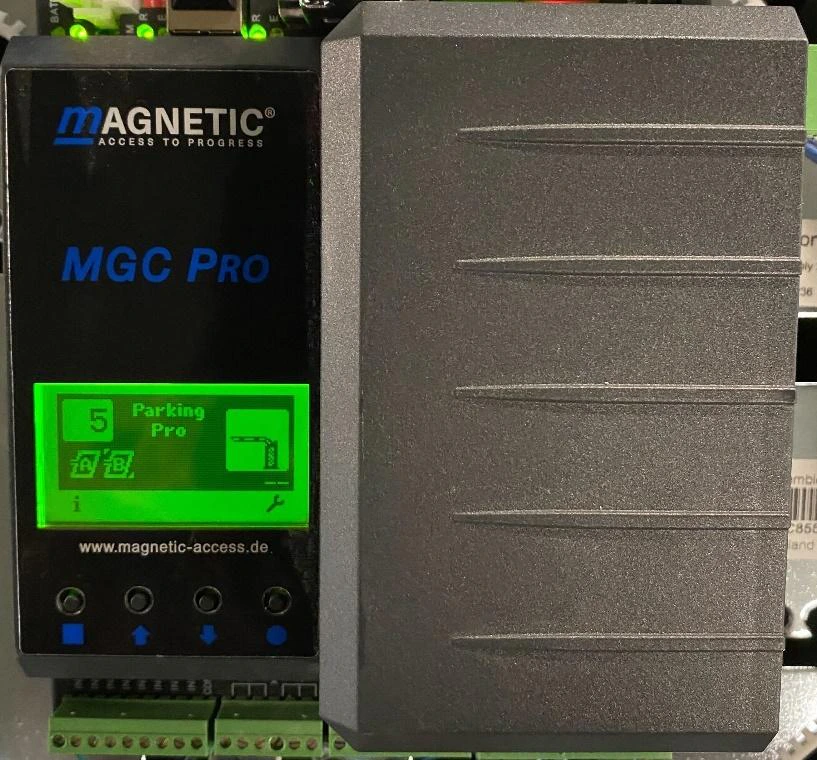
- Press the circle button below the screen to open the main menu.
- Select the “Function” option.

- Set the programming mode to 7.
- Save the change by pressing the circle button again.
Network Configuration
- Press the circle button below the screen to open the main menu.
- Select the “Ethernet” option.
- Select “Network Settings”.
- Make sure that DHCP is enabled.
- Power cycle the gate.
- Repeat the steps and go back to “Network Settings”.
- Make sure that the IP address starts with 172.162.184.X as it is shown in the image below:

Ethernet Module

If your gate does not have an ethernet module, you will need to purchase one. We recommend ordering directly from the manufacturer.

Opening and closing the gate manually

- Switch the “Service” switch for the “Service” mode. The LED lights red. The display backlighting flashes.
- Perform one of the following functions:
- Push middle left button : Manually open the barrier.
- Push middle right button : Manually close the barrier.
- Switch “Service” switch. The LED must light green.
Turning the gates on and off
- Remove the barrier housing door.
- Switch on the barrier via the double pole mains switch.
- Depending on the settings in the “Start-up behaviour” menu, the barrier arm slowly moves into the top end position or stops.
- Mount the door.
- Attach and lock the hood.

Closing or opening the gate’s arm in case of power failure

- Remove the barrier housing hood.
- Remove the barrier housing door.
- Press a tool straight into appropriate tool bore. The lever arm is pressed from the dead point.
- Mount the door if applicable.
- Attach and lock the hood if applicable.