> ## Documentation Index
> Fetch the complete documentation index at: https://docs.flexwash.com/llms.txt
> Use this file to discover all available pages before exploring further.
# Pay Terminal Issues
> Built-in hardware diagnostics and clear recovery steps keep your Pay Terminals taking payments.
This guide covers troubleshooting steps for the FlexWash Pay Terminal, including hardware diagnostics and recovery from common start-up errors.
## Hardware Diagnostics
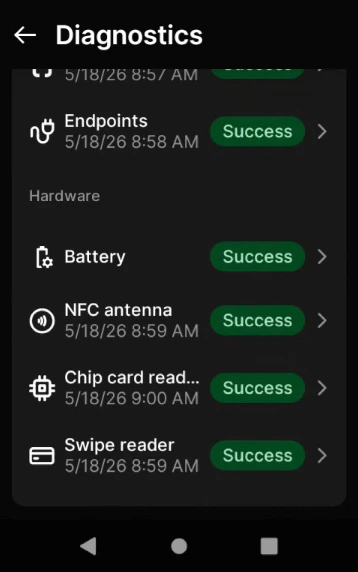
If a Pay Terminal cannot read a customer's card, run the built-in hardware diagnostics to identify which reader is failing. The terminal can test the NFC antenna, chip card reader, and swipe reader independently.
On the Pay Terminal, open `Settings` and tap `Diagnostics`.
The Hardware section lists the three card readers along with the battery status.
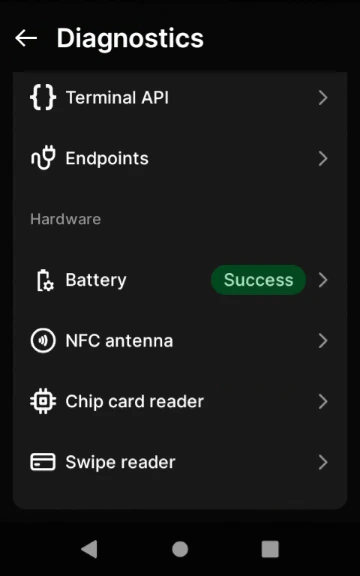 Tap a reader and follow the on-screen prompt. You will need a card to tap, insert, or swipe.
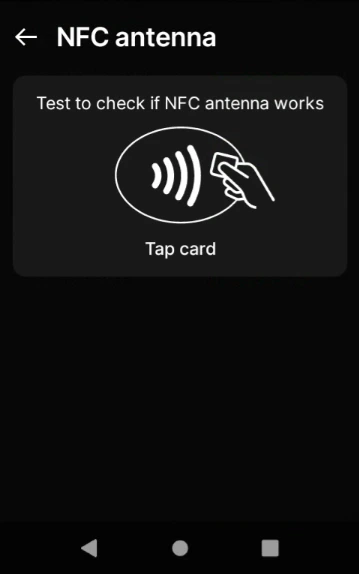
Tap a contactless card against the back of the terminal.
Tap a reader and follow the on-screen prompt. You will need a card to tap, insert, or swipe.
Tap a contactless card against the back of the terminal.
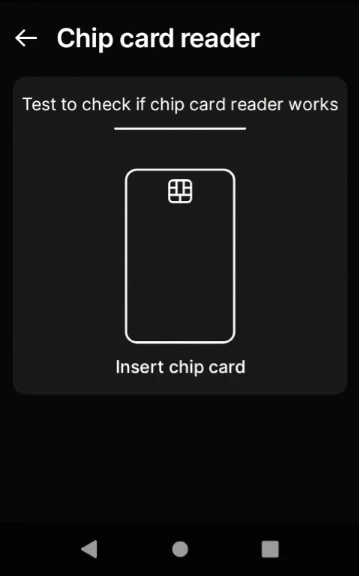
 Insert a chip card into the bottom slot.
 Swipe a card through the magnetic stripe reader.
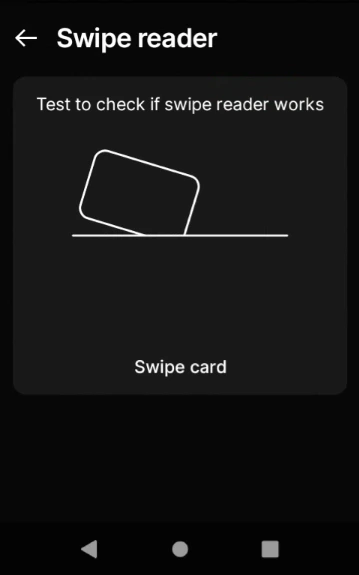 A working reader reports a `Success` status. Any other result indicates a hardware fault with that specific component.
 If one reader fails but the others pass, customers can still pay using a different card method while you arrange a replacement. [Contact FlexWash Support](/technical/troubleshooting/contact-support) with the failing component name.
## Staging Unsuccessful Error
If one reader fails but the others pass, customers can still pay using a different card method while you arrange a replacement. [Contact FlexWash Support](/technical/troubleshooting/contact-support) with the failing component name.
## Staging Unsuccessful Error
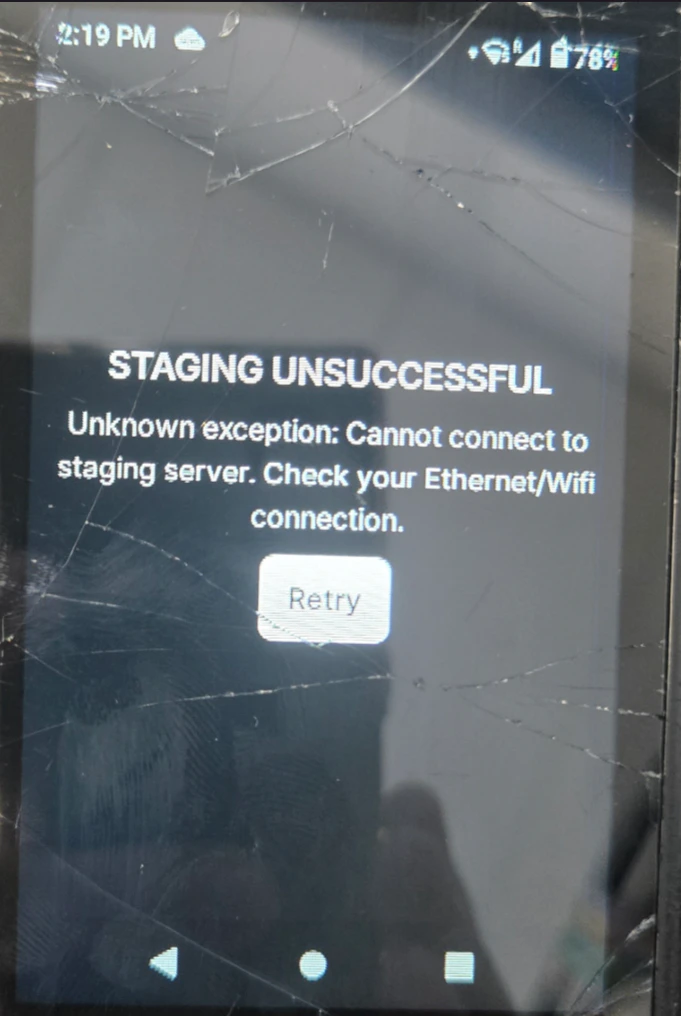 If this message appears on one of your Pay Terminals, please follow these steps:
Hold the power button and shut the device down.
Open the back cover and take the battery out.
Place the battery back in and close the cover.
Confirm the device starts cleanly and the error is gone.
If the error returns, repeat the reset one more time. If it persists after the second attempt, [contact FlexWash Support](/technical/troubleshooting/contact-support).
## SE Connect Fail
If this message appears on one of your Pay Terminals, please follow these steps:
Hold the power button and shut the device down.
Open the back cover and take the battery out.
Place the battery back in and close the cover.
Confirm the device starts cleanly and the error is gone.
If the error returns, repeat the reset one more time. If it persists after the second attempt, [contact FlexWash Support](/technical/troubleshooting/contact-support).
## SE Connect Fail
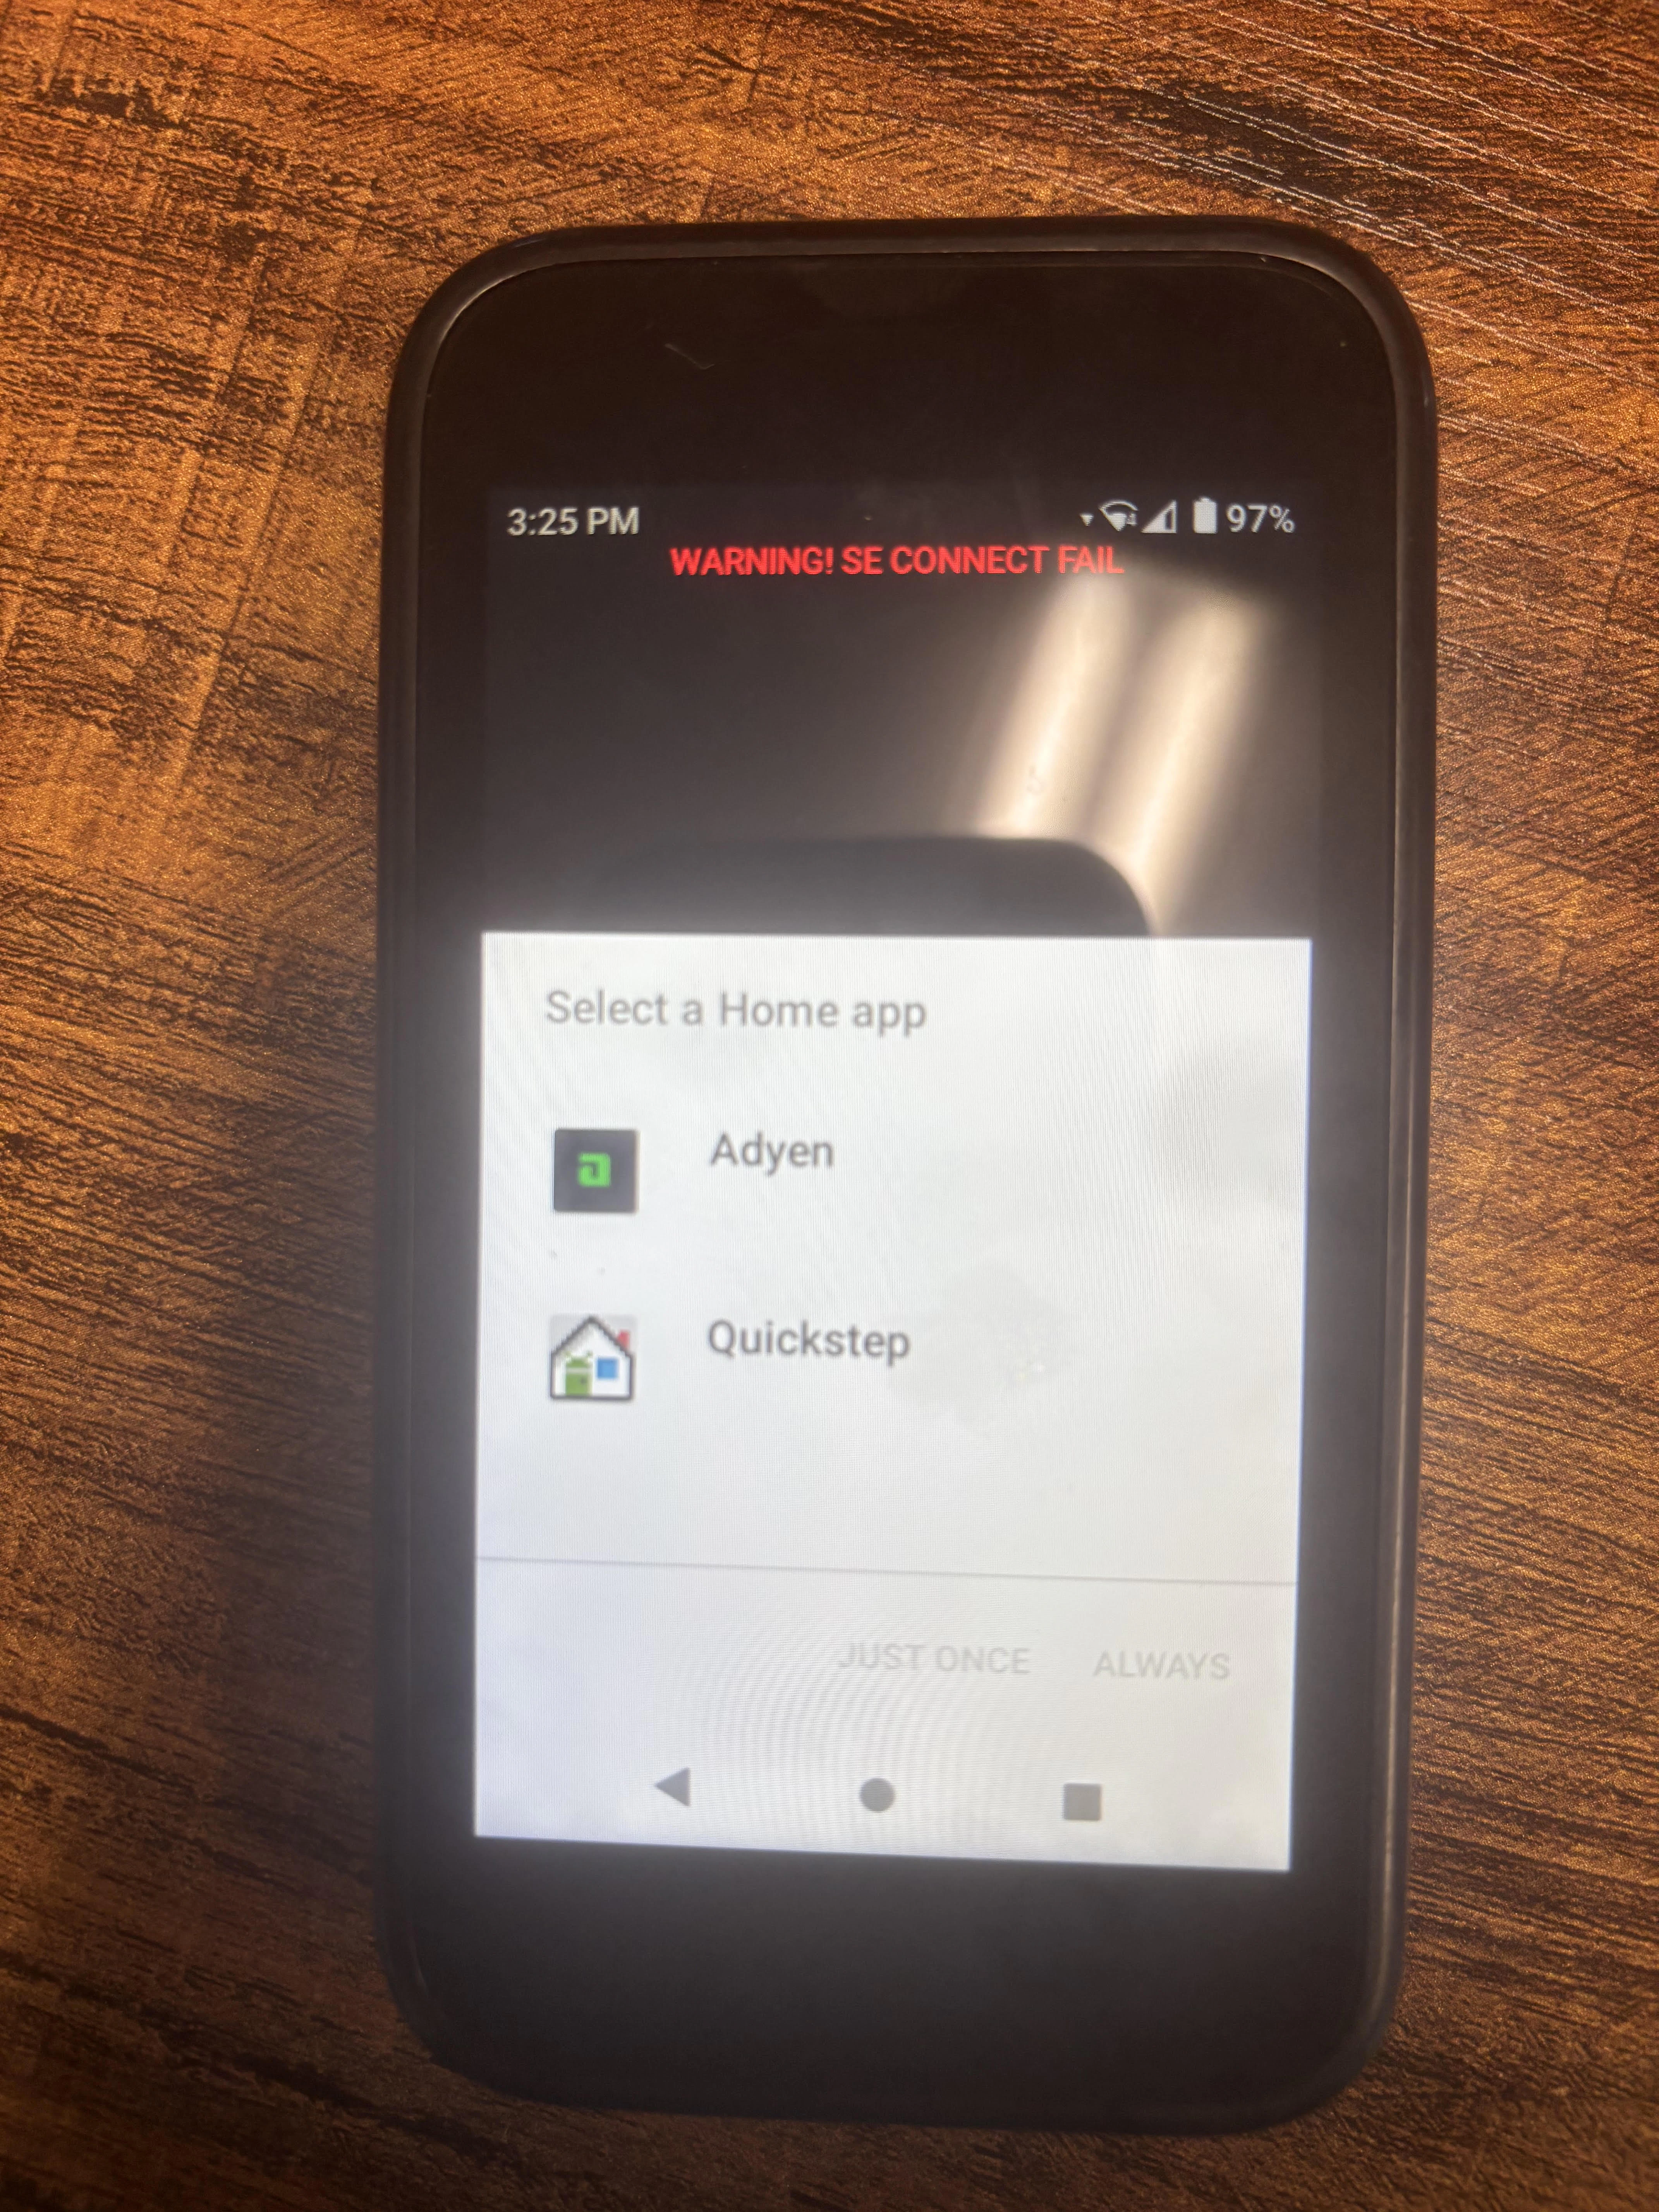 The `SE Connect Fail` warning indicates the secure element inside the Pay Terminal is unresponsive. Common causes:
* Physical tampering with the device
* A hardware defect or impact damage
* An unresponsive secure module
Restart the device and check whether the warning clears.
If the reboot does not resolve it:
1. Power off the terminal.
2. Remove the battery.
3. Wait 5 minutes.
4. Reinsert the battery.
5. Power the device back on.
If the warning persists, [contact FlexWash Support](/technical/troubleshooting/contact-support) to arrange a replacement.
The `SE Connect Fail` warning indicates the secure element inside the Pay Terminal is unresponsive. Common causes:
* Physical tampering with the device
* A hardware defect or impact damage
* An unresponsive secure module
Restart the device and check whether the warning clears.
If the reboot does not resolve it:
1. Power off the terminal.
2. Remove the battery.
3. Wait 5 minutes.
4. Reinsert the battery.
5. Power the device back on.
If the warning persists, [contact FlexWash Support](/technical/troubleshooting/contact-support) to arrange a replacement.